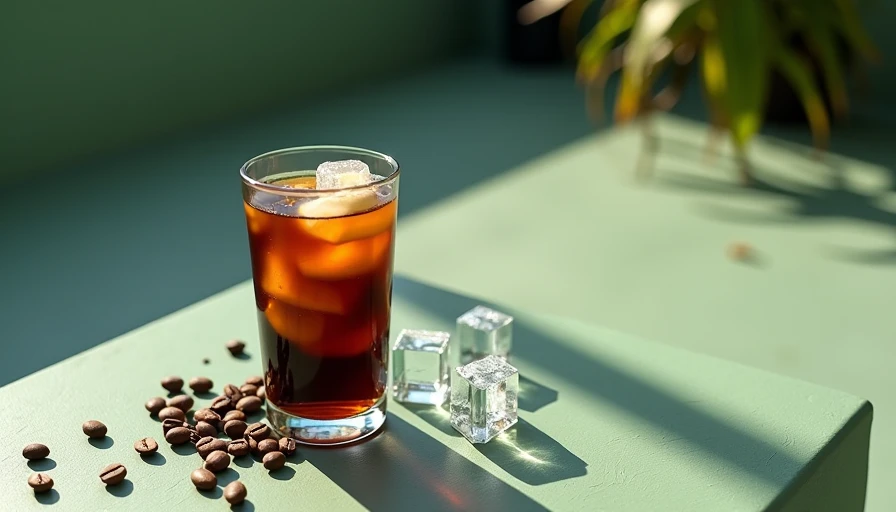
Cold brew caffeine can be surprisingly hard to estimate. A homemade glass might be lightly caffeinated, intensely strong, or somewhere in between depending on the coffee-to-water ratio, steeping time, concentrate dilution, and serving size. The simple answer is that cold brew is not automatically more caffeinated than hot coffee, but it is often served as a concentrate, which makes the final drink stronger if you do not dilute it enough.
I tried it, I priced it, and here is the shortcut: measure the coffee and water at least once before relying on taste. Cold temperatures soften bitterness, so a drink can taste smooth while still delivering a substantial amount of caffeine. If you are making a weekday bottle, a kitchen scale is useful, but a measuring cup and tablespoons will get you close enough.
What determines cold brew caffeine?
The biggest factor is how much ground coffee goes into the batch. More grounds usually mean more caffeine in the finished liquid. Grind size, steeping time, bean type, and water temperature also affect extraction, but the recipe ratio matters most in an ordinary home setup.
A typical ready-to-drink recipe might use one cup of coarse-ground coffee with four cups of water, then steep for 12 to 18 hours. That makes a fairly strong brew, although it is not necessarily a concentrate. A concentrate recipe might use one cup of coffee with two cups of water and then be diluted with equal parts water or milk before serving.
Dark roast beans do not automatically produce a low-caffeine drink. Roast level changes flavor and bean density, but the amount of coffee used and the serving size are more important for your actual cup. Arabica and robusta beans also differ, with robusta generally containing more caffeine. Most supermarket cold brew uses arabica, a blend, or a label that does not make the bean composition especially clear.
Time does not work like a simple caffeine switch. Steeping for 24 hours will not necessarily double the caffeine compared with 12 hours. It can make the drink more bitter, woody, or muddy instead. For my regular Sunday batch, 14 to 16 hours in the refrigerator gives a smoother result without turning the grounds into a science project.
How much caffeine is in a serving?
There is no single number for cold brew caffeine because recipes and serving sizes vary so much. A 12-ounce glass made from ready-to-drink cold brew could land in a similar general range to a 12-ounce cup of regular coffee, while a 12-ounce glass made from undiluted concentrate could be much stronger. Bottled products list different amounts, so the label is the best guide when one is available.
Here is a practical comparison. A small eight-ounce glass diluted heavily with water may feel mild. A 12-ounce glass made with a standard concentrate ratio can feel like a full-strength coffeehouse drink. A 16-ounce tumbler filled with concentrate, ice, and only a splash of milk is a very different drink, even though both are called iced cold brew.
Ice does not remove caffeine. As it melts, it simply adds water and lowers the concentration. Milk, oat milk, and almond milk also dilute the drink but do not neutralize caffeine. If you want less caffeine, use less concentrate, make a smaller serving, or blend regular coffee with decaf grounds. Decaf is not completely caffeine-free, but it can substantially reduce the total.
For personal tracking, write down the recipe: coffee weight, water weight, final liquid volume, and serving size. You will not get a laboratory number, but you will know whether your morning glass is based on two tablespoons of coffee or nearly half a cup. That difference matters more than whether the beans were labeled breakfast roast.
My easiest home method for controlled strength
Use 100 grams of coarse-ground coffee and 700 grams of filtered water for a strong, ready-to-dilute batch. A large jar works, and you do not need a dedicated brewer. Stir gently, cover it, and steep for about 14 hours. Strain through a paper filter, clean dish towel, or reusable filter. Paper takes longer but removes more fine sediment.
The finished amount will be less than the original water volume because the grounds hold liquid. I usually get roughly 20 to 24 ounces, depending on the grind and filter. Serve four ounces of cold brew over ice with four to six ounces of water or milk. That ratio produces a balanced glass for me and leaves room to increase the strength without remaking the batch.
This is where cold brew caffeine becomes easier to manage. Instead of pouring an unpredictable glass directly from the jar, you control every serving with the same small measuring cup. Jamie likes a creamy, sweeter drink, so I use four ounces of coffee, five ounces of oat milk, and a teaspoon of maple syrup. I prefer four ounces of coffee, six ounces of water, and no syrup.
The equipment cost can stay around $10 to $20 if you already own a jar and strainer. A dedicated pitcher with a filter may cost $15 to $35, but it mostly saves mess. This is better, but it is not $100 better for a first attempt.
How cold brew compares with hot coffee
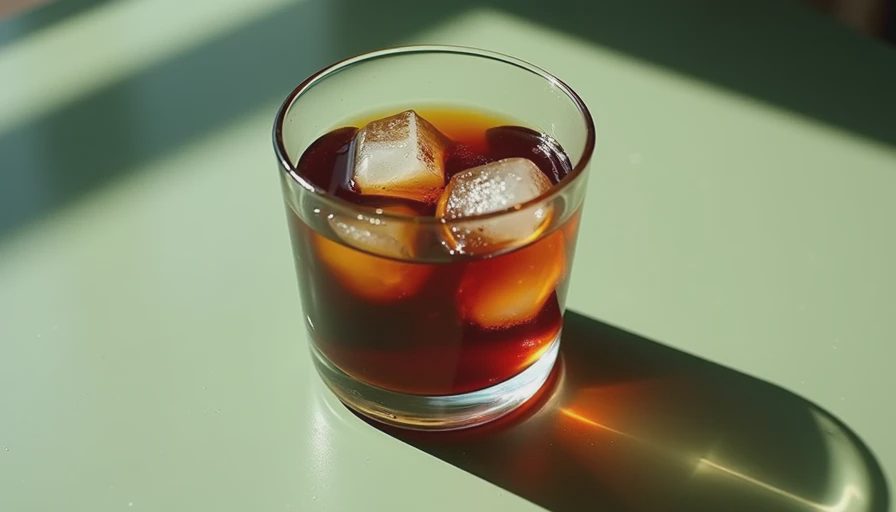
Cold brew caffeine often gets a reputation for being dramatically stronger than hot coffee because cafes serve it over ice in large cups. The real comparison needs matching volumes and recipes. Hot coffee is commonly brewed ready to drink, while cold brew is frequently made as concentrate and diluted later. Comparing one scoop of grounds to one scoop of grounds is less useful than comparing the final recipe.
A 12-ounce hot coffee can be strong or mild based on the shop, brewer, and bean amount. A 12-ounce cold brew can follow the same range, but a concentrate-based version has more room for accidental overpouring. If you are switching from hot coffee, start with a smaller cold brew serving for a few mornings. You can add water quickly; you cannot remove caffeine after the drink is poured.
A smoother flavor also changes how fast people drink it. Bitter hot coffee may be sipped slowly, while cold brew with ice and milk can disappear during a commute. That practical difference is worth considering when deciding whether the recipe is too strong.
Make a lower-caffeine batch without giving up the ritual
You do not need to abandon cold brew if you want a gentler morning drink. Start with a ready-to-drink ratio rather than a concentrate, or dilute your usual batch with equal parts water before refrigerating it. Use a smaller glass, add more ice, or combine half regular grounds and half decaf grounds. These changes are inexpensive and easier than buying another machine.
Another useful shortcut is making two bottles from one batch. Keep one bottle at normal strength for Jamie and dilute the second bottle for me. Label them clearly so nobody accidentally grabs the stronger one before a busy morning. The flavor stays consistent, cleanup happens once, and the refrigerator does not fill with half-finished experiments.
For most healthy adults, total daily caffeine matters more than the label on one drink. Caffeine sensitivity, medications, pregnancy, and sleep schedules can change what feels comfortable, so use your own response as a practical signal and follow medical guidance when relevant. If a batch causes jitters or ruins sleep, reduce the serving before blaming the beans.
The shortcut I would use this week
Make one measured batch, record the final volume, and choose a four-ounce starting pour. Taste it with water before adding syrup or milk. If it tastes weak, increase the coffee next time rather than adding a huge pour to the current glass. If it tastes harsh, dilute it and shorten the next steep instead of buying expensive beans.
The most useful thing about cold brew caffeine is not an exact universal number. It is knowing what is in your own jar and repeating the strength you actually enjoy. Spend ten minutes on Sunday, keep the concentrate cold, and portion it with the same small cup each morning. Good enough is the point here, and a consistent homemade glass is more than good enough.