
I used to believe a decent iced latte required either a café run or a counter full of equipment I did not own and did not want to clean. Then one Tuesday I timed myself. From opening the fridge to taking the first sip, the whole process took four minutes and forty seconds. No espresso machine. No special syrup order. No frothing ritual that left milk sprayed across the backsplash. Just a jar of cold-brew concentrate, oat milk, a teaspoon of grocery-store vanilla syrup, and ice.
That was the morning the five-minute vanilla iced latte became a permanent part of our weekday system. Jamie drinks one almost every workday. I steal half of one when I want something milder than black coffee. It is not identical to the drive-through version. It is close enough, cheaper, and ready before the kettle would even boil.
I tried it. I priced it. Here’s the shortcut.
Why This Drink Earned a Permanent Spot
Most homemade café copies fail the weekday test. They taste fine on a slow Saturday and fall apart when you have eight minutes before you need to leave the house. This one survives because every step is optional except the pouring. You can froth the milk if you have thirty extra seconds. You can skip the froth and still get a drink that tastes intentional. You can measure the syrup carefully or approximate it with the same spoon you used for cereal. The drink still works.
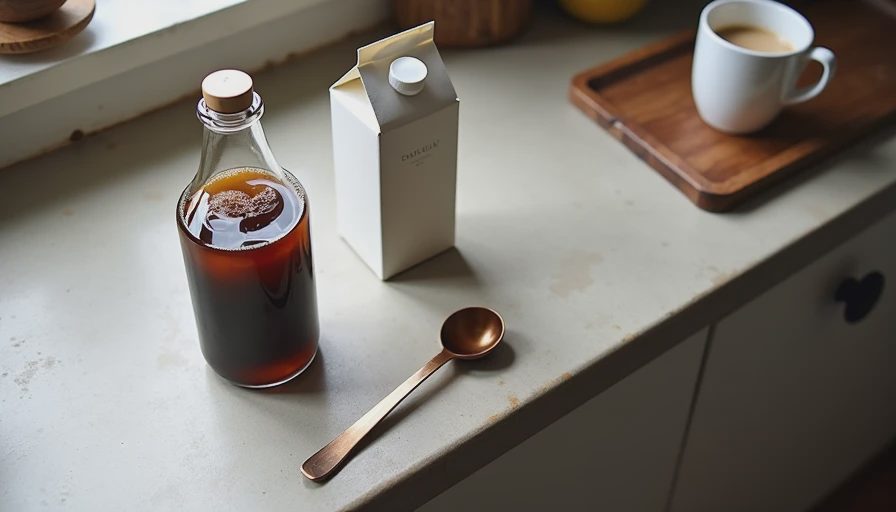
The cold-brew concentrate is the quiet hero. I make a batch every Sunday night so the hard part is already finished. Monday through Friday I only decide how much milk and how much sweetness. That single decision is what keeps the whole thing under five minutes.
The Exact Method I Use on Workdays
Here is the version that has survived more than two months of real mornings.
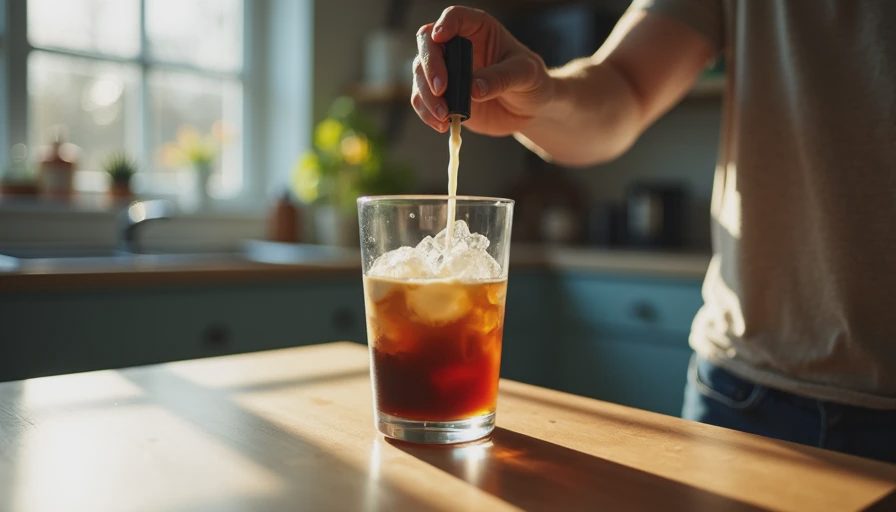
Fill a tall glass with ice.
Pour 3 ounces of cold-brew concentrate over the ice.
Add 6 ounces of cold oat milk.
Stir in 1 teaspoon of vanilla syrup.
Optional: give the milk a quick 10-second froth with the cheap handheld frother before pouring.
That’s the entire recipe. Total active time is usually under three minutes. The remaining two minutes are me finding a lid if I’m taking it to go or wiping the one spoon I used.
Ingredient Notes That Actually Matter
Cold-brew concentrate
I use the same batch I make every Sunday. If you are starting from scratch, any strong cold brew works. The concentrate just gives you more control over strength and lasts longer in the fridge.
Oat milk
We buy the plain, unsweetened carton from the regular grocery aisle. The barista versions foam better, but they also cost more and are not required. Regular oat milk tastes clean and does not fight the vanilla.
Vanilla syrup
The basic grocery-store bottle is fine. I have tested the fancy ones. The difference is real but not large enough to justify the price for daily use. One teaspoon is enough for Jamie’s preference. I sometimes use half that amount when I make one for myself.
Ice
Use enough that the drink stays cold to the last sip. Skimping on ice is the fastest way to end up with a lukewarm disappointment.
What the Drink Actually Tastes Like
It is not a perfect replica of a café vanilla iced latte. The café version usually has espresso, which brings a different kind of sharpness. This one leans smoother because of the cold brew. The vanilla is present without turning the whole glass into dessert. The oat milk keeps it creamy without the heaviness some dairy versions carry.
Jamie describes it as “close enough that I stop thinking about the drive-through.” That is the standard I care about. Not identical. Repeatable and good enough that the café stop becomes optional instead of automatic.
The Failures That Shaped the Final Version
The first few attempts were too sweet. I was copying the café ratio and pouring syrup like I was still ordering from a menu board. The drink tasted fine for three sips and then felt sticky. Cutting the syrup to one level teaspoon fixed it.
I also tried using leftover hot coffee cooled in the fridge. It worked in an emergency but tasted flat by day two and never had the same body. Concentrate solved that problem and reduced weekday work at the same time.
One week I got ambitious and tried to foam the oat milk into a thick layer the way cafés do. The cheap frother could not keep up, the milk went everywhere, and I lost two minutes cleaning the counter. Now I froth lightly or not at all. The drink does not need a cloud of foam to taste right.
Time, Cleanup, and the Real Weekday Math
Active time: three to five minutes.
Cleanup: one glass, one spoon, occasionally the frother wand.
Equipment required: none beyond what most kitchens already have.
Compare that to the café version. Drive time, wait time, and the small mental tax of deciding whether the $5 is worth it today. The homemade version removes that entire decision loop. The drink is simply there.
I still buy the café version on days when I am already out or when I want the exact espresso edge. The difference is that those purchases are now deliberate instead of default.
Cost Reality Check
Using the same numbers I tracked in the cost-per-cup post, this drink lands around $0.85 to $0.90 depending on the exact oat milk price that week. The café version we used to buy most often is $5.25 before tax. Even if you only replace three café lattes a week, the monthly difference is noticeable on a normal household budget.
I am not claiming the homemade version is free. I am claiming the cost is low enough, and the process short enough, that the drink becomes a reliable default instead of a special project.
How to Adjust It for Different Preferences
Jamie likes it exactly as written. I sometimes cut the syrup in half or skip it entirely and add a small splash of half-and-half instead. If you prefer dairy milk, the method stays the same and the cost usually drops a little. If you want it stronger, add another half-ounce of concentrate. If you want it milder, add more milk.
The recipe is deliberately flexible. The only rule that matters is that it still has to fit inside five minutes on a weekday.
A Note on the Frother
I own a $12 battery-powered handheld frother. It is useful about twice a week and sits in a drawer the rest of the time. It is not required. A vigorous stir with a spoon gets you 80 percent of the way there. If you already own a frother, use it. If you do not, do not buy one just for this drink. The latte does not depend on it.
Why This Belongs in the “Café Drinks, Minus the Commute” Category
The whole point of this category is to recreate the drinks people actually order without requiring a second commute, a specialty store, or a new set of skills. This vanilla iced latte passes that test. It uses ingredients available at any regular grocery store. It relies on a method that fits real morning constraints. And it produces a result that is good enough to repeat.
It is not a science project. It is not a flex. It is a practical answer to the question most of us are actually asking: can I have something close to the café drink without the café price and the café time?
Yes. This is one version of that answer.
Final Practical Advice
Make the cold-brew concentrate on Sunday if you can. Keep the oat milk and syrup in easy reach. Use a measuring spoon the first few times until your eye calibrates. Then stop measuring if you want. The drink is forgiving.
If the first one tastes off, adjust one variable at a time. Too strong? More milk. Too sweet? Less syrup. Too weak? More concentrate. Write the change on a sticky note if you need to. That is still how I track most of our kitchen experiments.
You have five minutes and a fridge. Make this one. Good enough is the point here—and this is more than good enough.