I have tested more cold-brew ratios than I care to admit. Some came from the internet. Some came from well-meaning friends who own nicer equipment than I do. Some came from my own stubborn experiments on nights when I should have been doing laundry instead. After two years of Sunday batches in the same apartment kitchen, one ratio has outlasted all the others.
It is not the most elegant. It is not the one that produces the absolute brightest cup. It is the one that consistently gives both Jamie and me drinks we actually want to finish on a weekday morning, using the beans we already buy and the jar that already fits in our fridge.
I tried it. I priced it. Here’s the shortcut.
The Ratio Itself
By volume: 1 part coarse-ground coffee to 4 parts room-temperature water.
That is the entire formula. For our usual batch I use 2 cups of coarse grounds and 8 cups of water. The resulting concentrate is strong enough that Jamie can dilute it heavily with oat milk and ice while I can dilute it more lightly (or not at all) and still get a proper cup of coffee. One batch reliably covers five workdays with a little left over.
I measure with a standard liquid measuring cup. No scale required. The beans are whatever decent whole-bean coffee is on sale or already in the pantry. The water is straight from the tap. The vessel is a large glass jar that once held pickles.
Why This Ratio Survived When Others Did Not
I started with the classic 1:8 ratio many guides recommend for ready-to-drink cold brew. It produced a pleasant, mild coffee that tasted fine on its own but disappeared once milk or ice entered the glass. Jamie’s iced latte version tasted watery. My black version needed to be drunk in larger volume to feel satisfying. We went through the batch faster and still felt under-caffeinated.
Next I tried 1:5. Better body, but still a little soft once diluted the way we both prefer. The 1:4 ratio finally hit the mark. The concentrate is assertive enough to stand up to six ounces of oat milk and a glass full of ice. It is also smooth enough that I can drink it black over ice without wincing. That dual usefulness is the whole point of the Sunday batch in our house.
I briefly experimented with 1:3. The concentrate was powerful, almost syrupy. It worked, but the extraction edged toward bitterness with the beans we normally buy, and the batch size became awkward for our jar. 1:4 stayed.
How I Make the Batch Every Sunday
Coarse grind 2 cups of beans. The grind should look like rough sea salt or slightly coarser. Too fine and the concentrate turns muddy and bitter.
Add the grounds to the clean jar.
Pour in 8 cups of room-temperature water. Stir gently until all the grounds are wet.
Cover and leave on the counter for 12–14 hours. If the apartment is warm, I move it to the fridge after the first few hours.
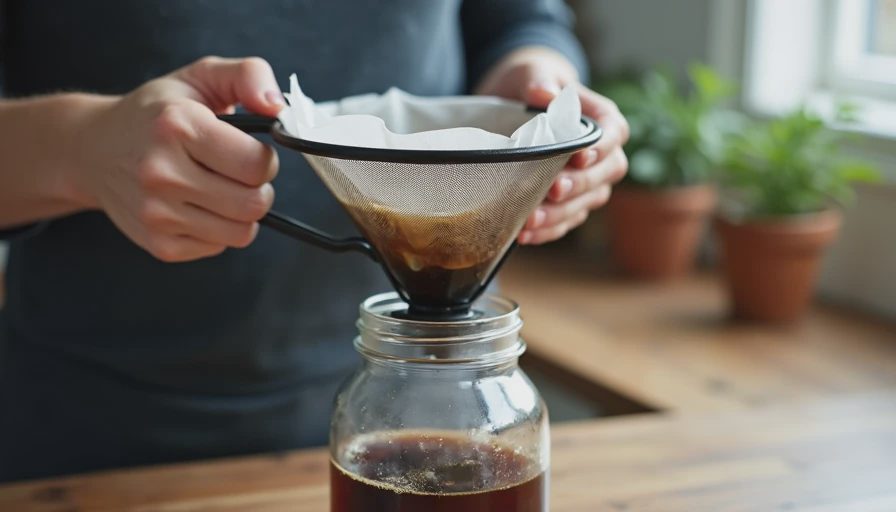
Strain through a fine-mesh strainer lined with a paper towel or a couple layers of cheesecloth into a second clean jar.
Press the grounds lightly to extract the liquid, then discard them.
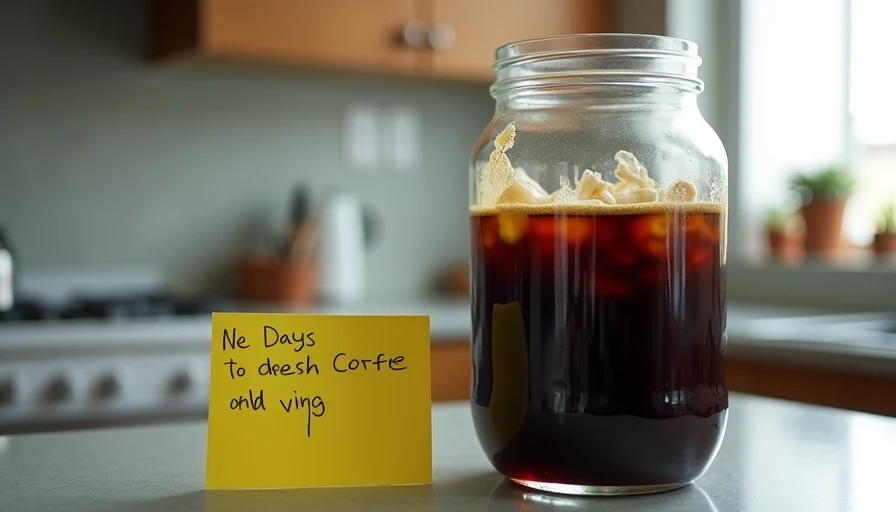
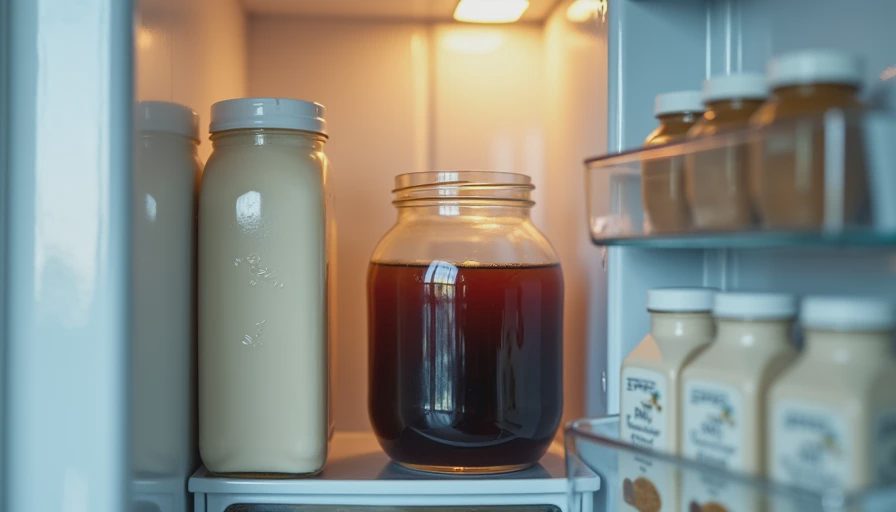
Label the jar with the date and put it in the fridge.
Total active time is about ten minutes once the grinding is done. Cleanup is the brewing jar, the strainer, and whatever I used to stir. The grounds go in the compost or the trash. The concentrate is ready for Monday morning.
What the Concentrate Actually Tastes Like
It is smooth, low-acid, and clearly coffee. It does not taste like espresso. It does not taste like a delicate pour-over. It tastes like a reliable base that can become two different drinks without complaint. When diluted 1:1 with water or milk it makes a solid iced coffee. When used in smaller amounts with more milk it becomes the backbone of Jamie’s weekday latte. When diluted with hot water it makes a clean, strong hot cup that works on cold mornings.
The flavor shifts slightly depending on the beans. Lighter roasts stay brighter. Medium roasts give more chocolate and nut notes. Darker roasts lean earthier. The 1:4 ratio handles all of them without requiring me to recalculate every time the bag changes.
The Failures That Taught Me the Limits
I once used a fine grind because I was out of patience with the hand grinder. The concentrate was bitter and silty even after careful straining. Lesson: coarse grind is non-negotiable for this method.
I left a batch for 20 hours because I forgot about it. The flavor flattened and picked up a woody note. 12–14 hours is the window that works best with our water and our beans.
I tried filtering through a paper coffee filter alone. It was painfully slow and clogged repeatedly. The paper-towel-lined strainer is faster and good enough. Perfect clarity is not the goal. Drinkable clarity is.
Cost and Yield Reality
A $16 bag of whole-bean coffee yields three full batches at this ratio. Each batch gives us roughly 10–12 usable servings depending on how heavily we dilute. The coffee cost per serving of concentrate sits around $0.50–$0.55. Once diluted into actual drinks the per-cup cost drops further, which is why the Sunday batch remains one of the highest-leverage habits in our kitchen.
The ratio itself costs nothing to maintain. It requires no special bags, no proprietary filters, and no extra gadgets. That is part of why it has lasted.
How the Ratio Supports Two Different Orders
This is the quiet advantage that keeps the system alive. Because the concentrate is strong, Jamie can use 3 ounces with 6 ounces of oat milk and syrup and still taste coffee. I can use 4 ounces with ice and nothing else and still feel like I had a proper cup. One jar, two preferences, zero extra brewing.
If the ratio were weaker, one of us would always be adjusting more aggressively or making a second method. The 1:4 strength prevents that. It is the practical reason the ratio won, not any claim about extraction perfection.
Practical Advice If You Want to Steal This Ratio
Start with the 1:4 volume ratio using whatever beans you already drink. Grind coarse. Steep 12–14 hours. Strain. Taste the concentrate black over ice on Monday morning. Then dilute it the way you actually like to drink coffee. Adjust the next batch only if something is clearly off—too bitter, too weak, too silty.
Write the ratio on a sticky note and put it on the fridge. Mine is still there, slightly faded, next to the note that says “do not use fine grind.” The notes are not pretty. They are effective.
You do not need a scale. You do not need a special brewer. You need a jar, a coarse grind, and the willingness to let the coffee sit overnight while you do something else.
You have ten minutes on Sunday. Make this ratio. Good enough is the point here—and this is more than good enough.