Affiliate Disclosure: This post contains affiliate links. If you buy through them, Shortcut Brew may earn a small commission at no extra cost to you. It never changes what I write about a product, and I only recommend gear I would use myself.
For months I kept changing the things I could see. New pods, a different roast, a slightly smaller cup size on the Keurig. Some mornings the coffee tasted fine, and other mornings it had a flat, faintly chemical edge that no pod could explain. It took me far too long to look at the one ingredient that makes up nearly the entire drink: the water.
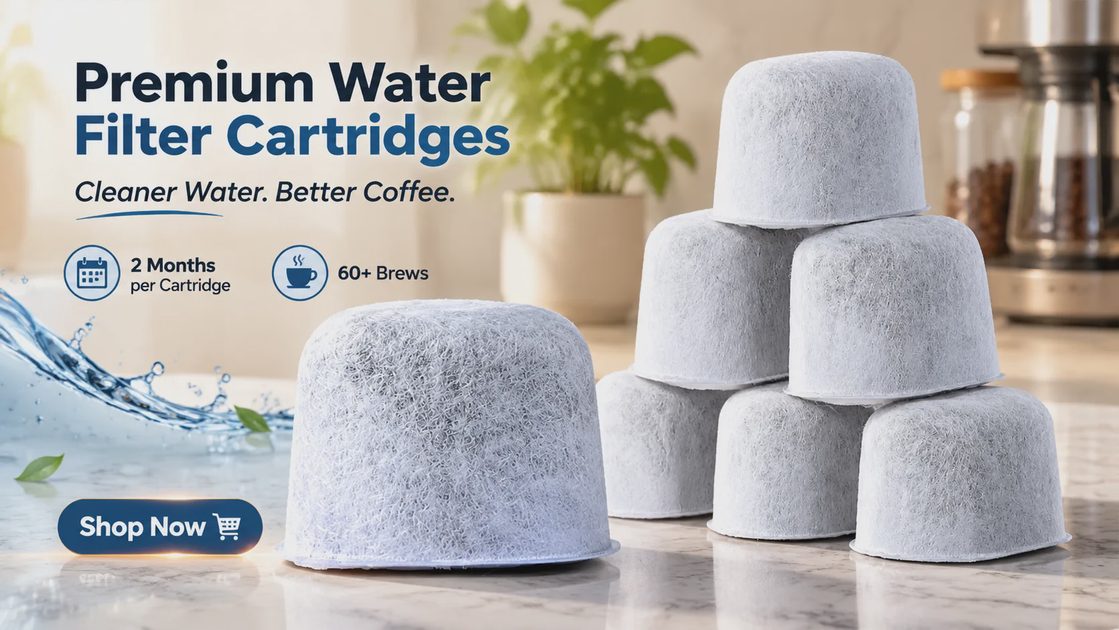
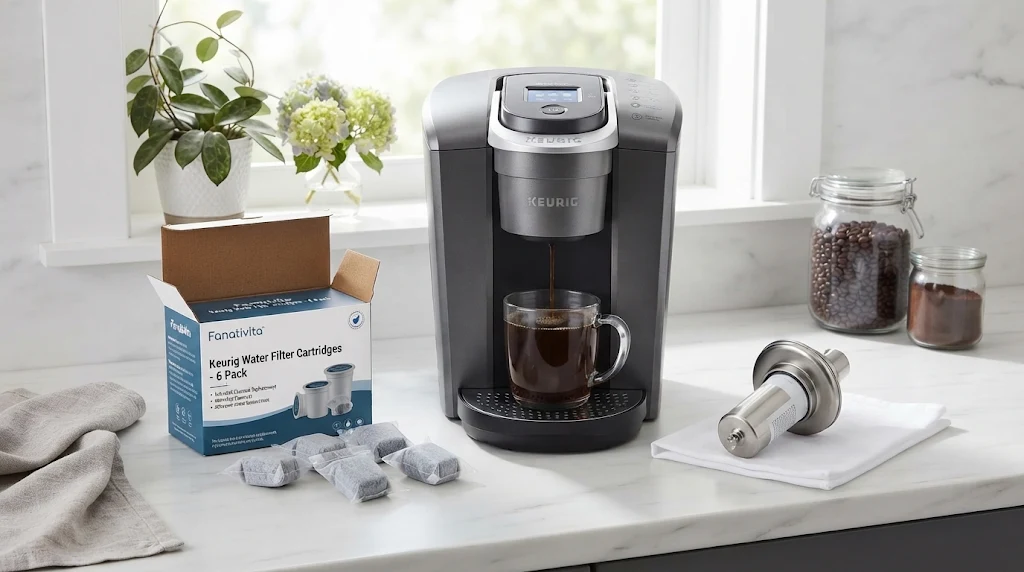
That is what led me to the Fanativita Keurig water filter cartridges, a 6 pack of small activated carbon filters that sit inside the reservoir and work on the tap water before it ever reaches the pod. I have been using them in my own machine, and this is an honest account of how they fit, how they behave day to day, and where they fall a little short.
Why I Stopped Blaming the Pods
The Flat Taste I Had Gotten Used To
Tap water in many cities carries a trace of chlorine, and a reservoir that sits for a day or two lets that smell linger. I never noticed it in a glass of water, but hot coffee has a way of bringing it forward. My first cup of the day tasted slightly dull, and lighter roasts made it even more obvious. I assumed the pods were to blame, so I kept swapping brands and never fixed anything.
Why Water Matters More Than It Seems
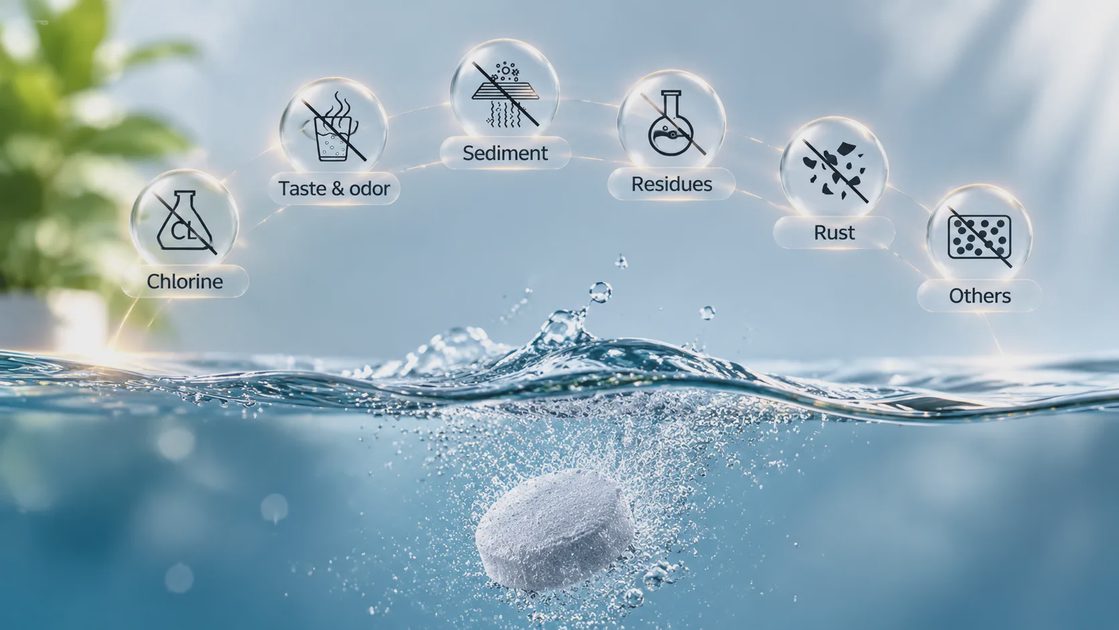
Coffee is mostly water, so whatever is in the water ends up in the cup. The listing for this filter says it targets six things:
Chlorine
Taste and odor
Sediment
Residues
Rust
Other impurities
A small carbon cartridge will not turn hard or unusual water into something perfect, but those are the everyday offenders, and they are exactly the ones that make a morning cup taste a little off. That was enough of a reason for me to try it.
Getting to Know the Fanativita Filter
First Impressions Out of the Box
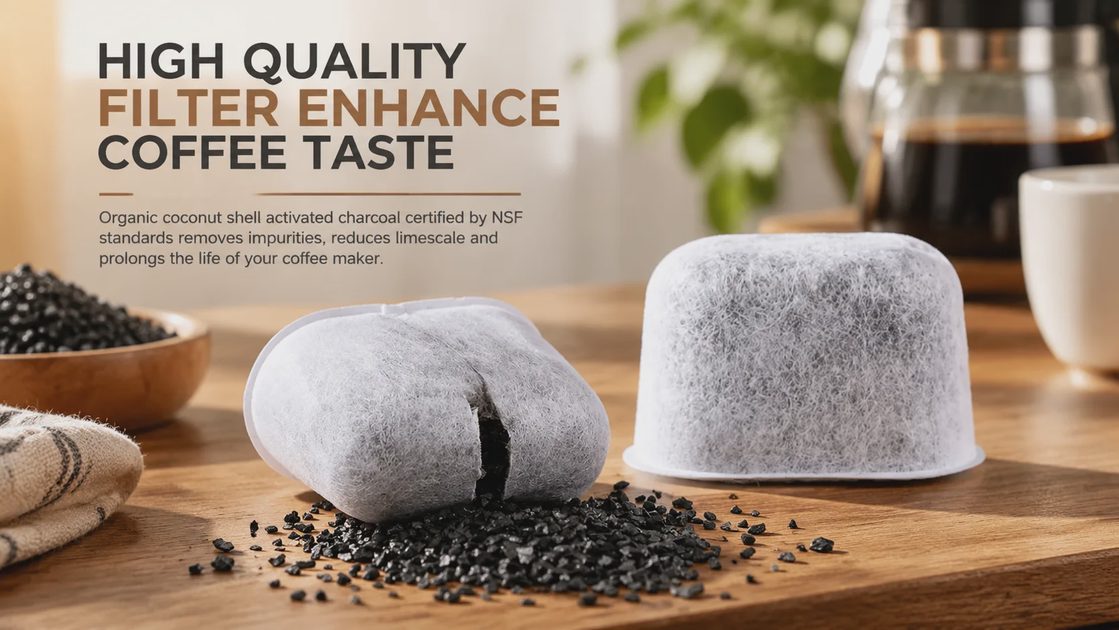
The filters arrive in a tidy box, each one individually wrapped, which I appreciated because I would rather keep five spares clean in a drawer than loose in a bag. Each cartridge is a small, pale grey dome made of a dense, felt-like fiber. It feels light and slightly rough, nothing like a gadget, which is honestly reassuring for something that lives in your water tank.
Checking the Fit Before You Open Anything
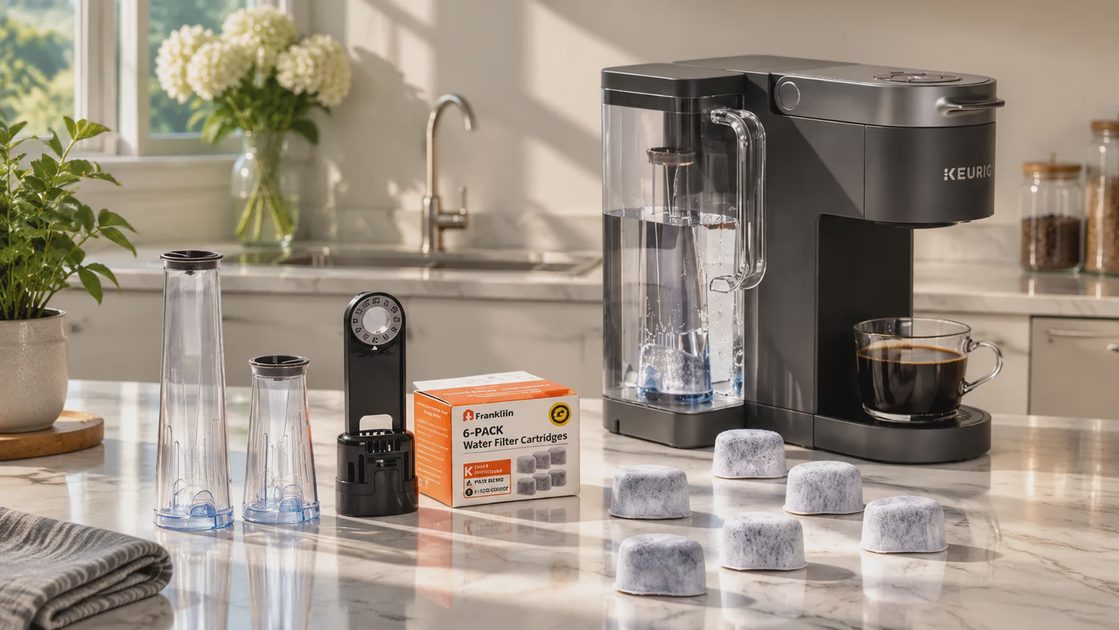
Here is the one thing to sort out first. These cartridges are designed to be used with a Keurig water filter handle, and the handle is not included. The page says it plainly: pick the correct handle before you buy.
Amazon lists the cartridge as a universal fit across the Keurig range, so my own check was simple. I looked inside my reservoir to confirm that the filter handle was there, and it was. If your machine has never had one, plan to buy the handle separately, or the cartridges will have nowhere to go.
Setting It Up Without the Fuss
The Three-Step Routine
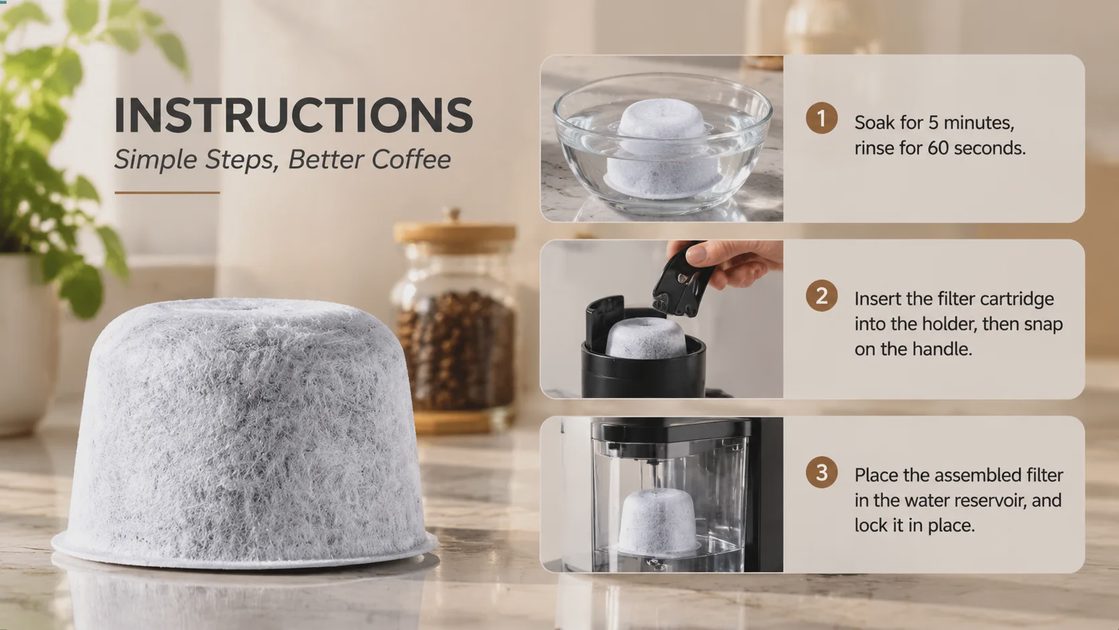
The instructions fit on a single card, and they are easy to follow:
Soak and rinse. Let the cartridge soak for 5 minutes, then rinse it for 60 seconds.
Assemble. Insert the cartridge into the upper filter holder, then snap on the lower filter handle.
Install. Place the assembled filter in the water reservoir and push down firmly until it locks in place.
The whole thing took me less time than it takes to brew a cup.
What I Learned in the First Week
The soak and rinse can feel like a fussy extra step, but I did not skip it, and I would not suggest you do. It is the part that gets a fresh carbon cartridge ready to work. The first cups tasted a touch different, cleaner and less flat, and by day three I had stopped noticing the change at all. That is how I know it stuck: the coffee simply stopped tasting like tap water.
Living With It Day to Day
The Difference in the Cup
The improvement is real, but it is quiet. Nothing dramatic happened. What I noticed was what went missing: the dull edge on the first cup, the faint flat finish on lighter roasts. My usual medium roast tasted rounder, and the aroma seemed a bit cleaner when the cup came out of the machine.
If you drink very strong, dark pods, you may notice less. If you tend to brew lighter or milder cups, as I do, the difference is easier to pick up. Either way, it is the kind of change you notice most when you forget to swap the filter and go back to the old taste for a few days.
How I Replace It
The rule of thumb on the listing is to change the cartridge every 2 months, which the product image ties to roughly 60 brews. The page also says that if you use the machine frequently, changing it monthly gives the best results.
I sit somewhere in the middle. In a busy month with guests, I go closer to the monthly mark. In a quiet one, I let it run the full two months. The filter does not announce when it is done, so a schedule matters more than guesswork.
A Habit That Takes Thirty Seconds
I wrote the install date on the box flap and set a reminder on my phone for the next swap. That is the whole system. Because the filters are individually wrapped, the next one is always sitting there ready, and the swap itself, once you have done the soak, takes about as long as refilling the tank.
The Honest Downsides
It Is a Filter, Not a Fix
The listing mentions helping to reduce limescale and calcium, and that is a nice bonus, but I do not treat it as a replacement for descaling. A carbon cartridge improves what goes into the machine. It does not clean what is already inside it, so I still descale on my usual schedule.
The Results Are Subtle
If your water is already soft, or you already pour filtered water into the reservoir, expect a smaller change than I described. The cartridge makes the most difference when tap water is the weak link, and I would not want anyone to expect a transformation they will not taste.
The Prep Step Asks for a Little Patience
The five-minute soak and one-minute rinse are easy but unavoidable. If you like to install something and brew right away, this is not that kind of product. I started soaking the next cartridge while I made breakfast, and that took care of it.
How the Six-Pack Fit Into My Routine
The Math That Ended the Debate
The 6 pack was $9.95 when I checked on November 18, 2026, which works out to $1.66 per filter. At one filter every two months, that is well under a dollar a month, and with 60 or more brews per cartridge, the cost lands below three cents a cup. Compared with the price of a single bag of good coffee, the numbers made the decision easy.
If you like to set things up once and forget about them, Amazon also offers a Subscribe & Save option at $8.95 for the same pack, or $1.49 per filter. I stayed with the one-time purchase at first, mostly to see whether I liked the filter before committing to a schedule.
Ordering It Without a Detour
I bought it on Amazon, where the pack ships from Amazon and is sold by Fanativita. It arrives in the product's own packaging rather than a plain shipping box, so it is not gift-ready, but for a small replacement part that did not bother me. Returns are free, and the seller lists a refund or replacement option until January 31, 2027, which made trying it a low-risk move. Prices and offers change, so check the current listing before you order.
Who I Would Recommend It To
Worth Trying If
Your coffee tastes a little flat or has a slight chemical edge, and you have already swapped pods without success
You use your Keurig every day and want a simple upkeep routine
You like to try small, low-cost upgrades before spending on anything bigger
Your machine already has a filter handle in the reservoir
You Might Skip It If
You already use filtered or bottled water in your machine
You are not willing to buy a separate filter handle
You dislike scheduled maintenance of any kind
For me, this became one of the cheapest and least annoying changes I have made to my morning coffee. It will not rescue a bad pod, but it takes away a problem I did not know I had, and my first cup of the day tastes cleaner for it.
FAQ